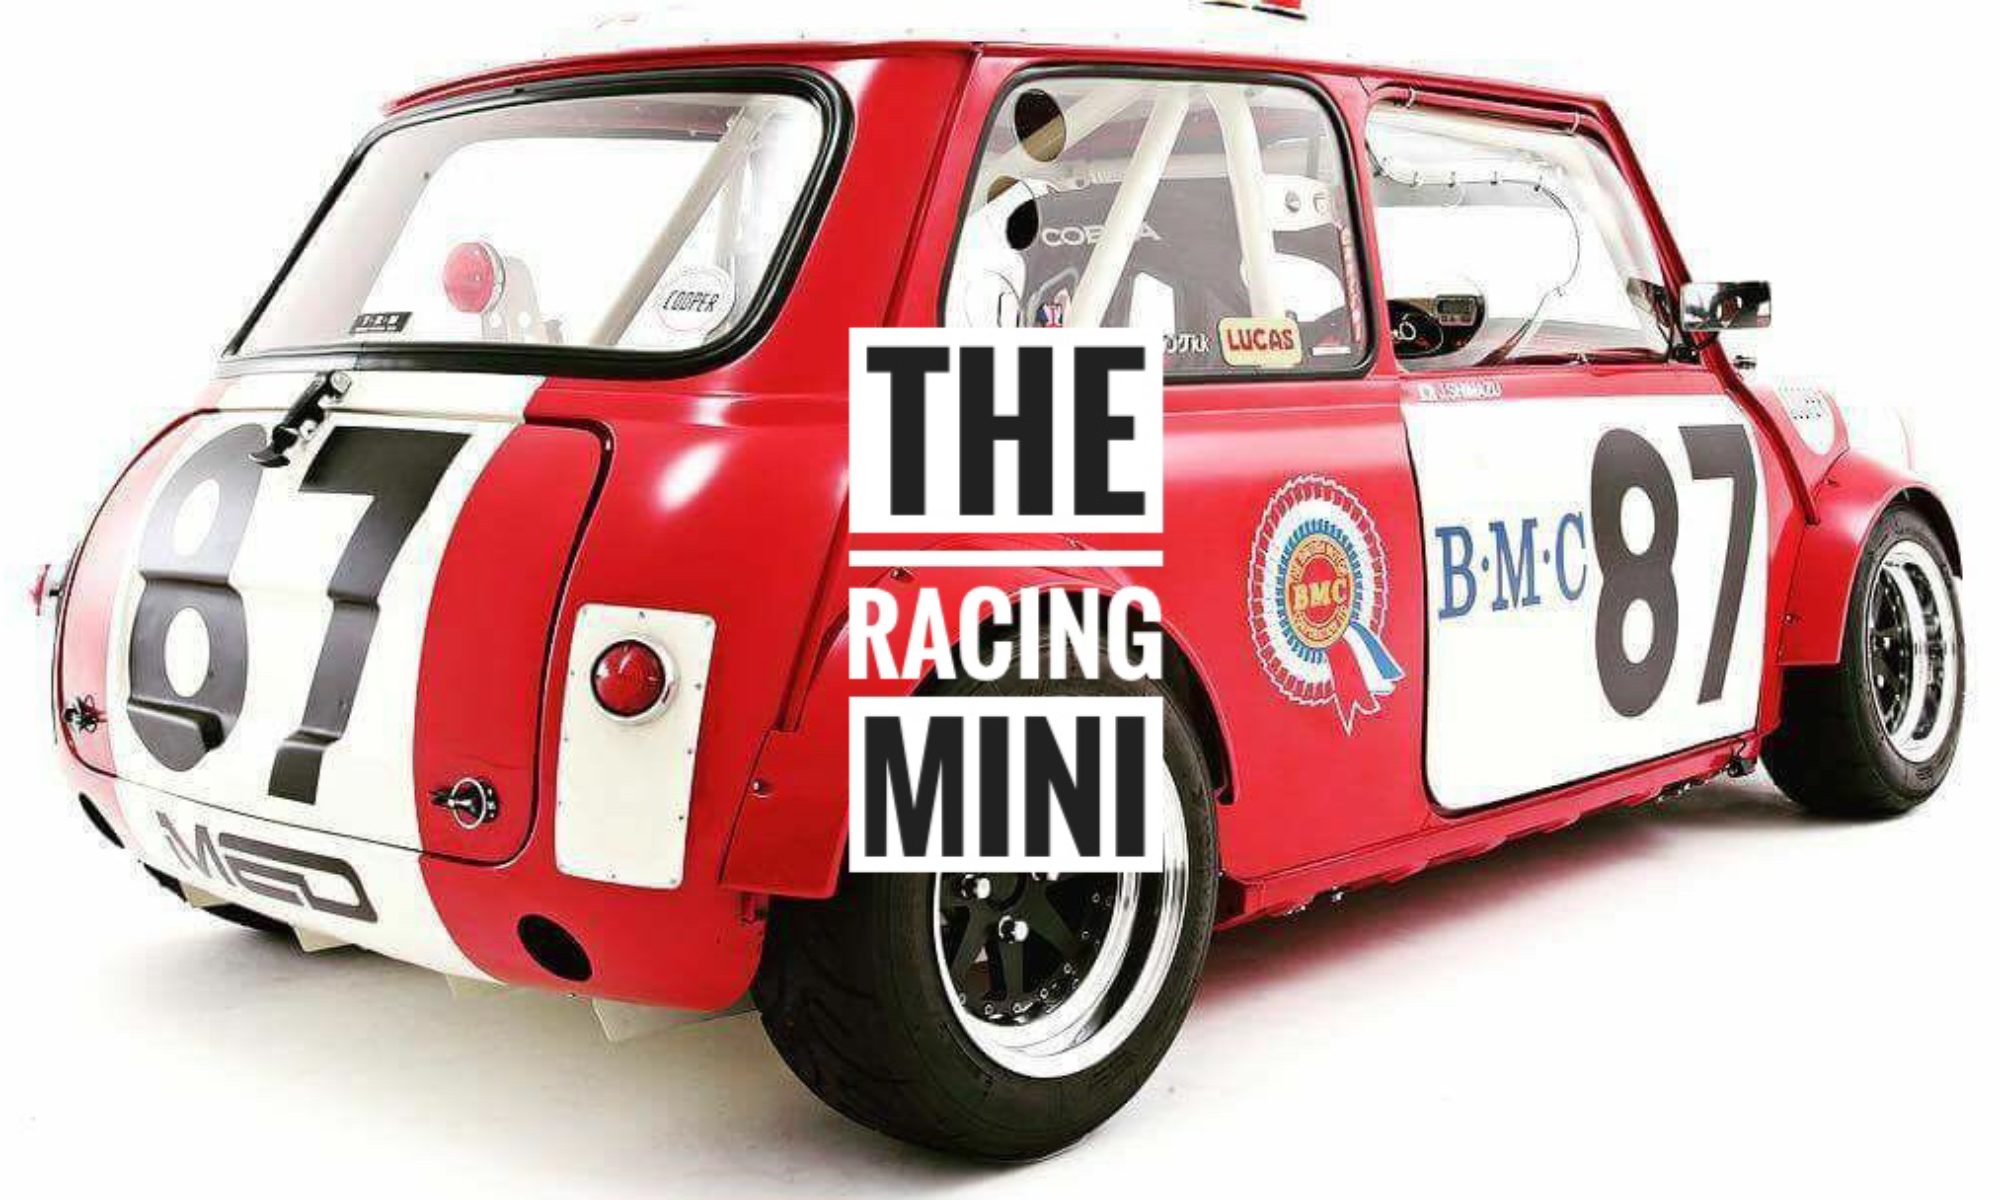

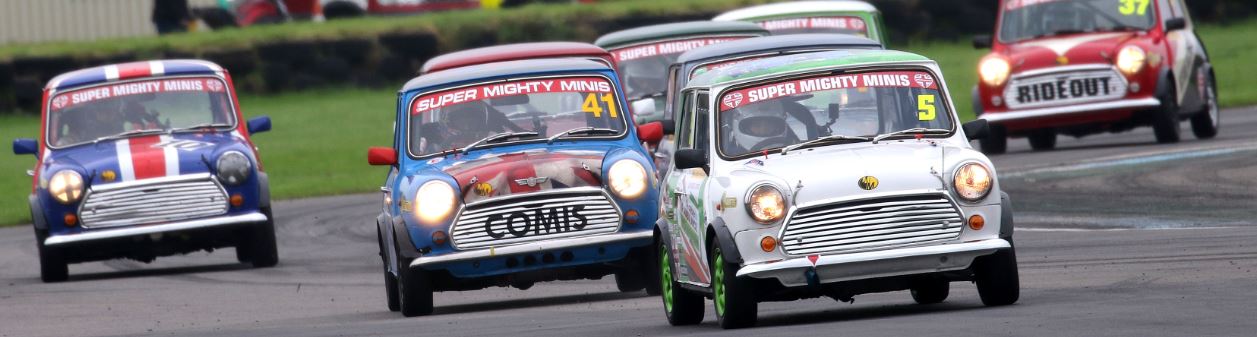
In our last update we narrowed our sights onto the Mighty Mini Series. This championship was introduced in the 1990s and used the current, at that time, Rover Cooper SPi as the starting point. The series has essentially remained unchanged since that time and as a result there’s a huge following often resulting in massive grids. The racing is close and the championship is often undecided until the last round.
Complete cars sometimes come up for sale with prices in the region of £6500 (at 2018 prices). This would probably be more cost effective and we’d be sure to meet the regulations with a car that’s already passed inspection. But where’s the fun in that!  We’d only be tempted to rebuild it anyway, adding to the cost.
By building our own car we have the advantage of knowing it inside and out. We can tailor it to our own specification in terms of extra instrumentation and data logging. All safe in the knowledge that it hasn’t been thrashed to within an inch of its life.
(BELOW IS ALSO COPIED TO THE TECHNICAL SECTION)
The regulations are published on the Mighty Minis website www.mightyminis.co.uk and are considerable in length. I’ll only highlight the main points here.
BODY
You take an SPi Cooper (without a sunroof) repair all the rust, gut the interior and strip everything back to the bare shell. We will get it acid dipped to remove all the seam sealer and noise material as we don’t want there to be any surprises for structural integrity and any previous repairs will be unearthed. I’ve seen minis that have had sills filled with body filler instead of being replaced! It’s lazy but can usually be spotted using a small magnet when looking for a prospective donor. Stripping also saves a small amount of weight. Once that’s done we’ll inspect it thoroughly, finalise the repairs and weld in the extra mounting points required by the regulations for the cage, subframe, and seat mounts. The body will then be sent back to the dippers for a final dip and totally sealed with a modern epoxy coating. This is the same technique used by modern manufacturers and a company called SPL have been doing it since the 90s. This should be all the protection needed for many years to come. It will then be sent to be sprayed inside and out.
The rear and side windows are replaced with polycarbonate equivalents and the fog lamp moved to the centre of the rear window.
You plumb in a fire extinguisher system with remote pull and bolt in a racing seat. The dashboard is removed but the instrument cluster remains in situ. Extra gauges, switches, and a battery cut out can be mounted separately in the area just to the left of this. The battery isolator must stop the engine and have an exterior mounted activation just like the extinguisher.
The battery cable from the rear mounted battery may be run internally rather than in its usual channel under the floor as can the brake and fuel pipes. The battery will be replaced by a sealed racing version. The original tank can be retained but the filler must be flush mounted. However we plan to fit a racing tank with foam baffle and internal filler still within the boot area. This must be solidly mounted.
SUSPENSION
The suspension maintains the original design rubber cones. These dry out and become more rigid over time so they should be replaced. However the ride height is reduced from standard using reduced length and adjustable ‘trumpets’. These are often referred to as hi-los. To accommodate the lower ride height the shock absorbers have to be replaced also and for this series they are specified as lowered GAZ adjustables. The bump stops can be replaced by shortened versions or cut down originals.
The bushes will all be replaced and updated where permitted and the inherent standard Mini ‘positive’ camber is adjusted to the more track friendly ‘negative’ variety by using longer lower front arms and adjustable outer rear attachment points. Tie rods and track rod ends are upgraded also. 6.5mm spacers and longer studs at the rear only.
ENGINE
Head work limited here to a light skim of the head, and double valve springs. The original 1275cc capacity must be retained. Updated radiator using the original mounting points, small additional in line cooler and an oil cooler within the confines of the engine bay. Three branch exhaust manifold and an RC40 or Maniflow exhaust system restricted to 1 7/8”. Also a top steady bar between thermostat housing and bulkhead. The ECU must be sent away to be independently tested and sealed.
GEARBOX
Original ratios to be maintained inc differential, but the latter may be upgraded to a stronger cross pin example. Also a central oil pickup is permitted along with a strengthened lay shaft. A quick shift, updated clutch, and extra lower stabiliser bar completes the package.
BRAKES
Original specification discs and drums. No aluminium components or extra cooling ducts. All rubber hoses replaced by braided items. Racing brake fluid. It is permitted to to remove the front disc back plates and no modification of any components to lighten them. Brake bias adjuster (not adjustable whilst driving). Handbrake must be retained. Updated pads are allowed.
WHEELS
Original 12” wheels (either steel or alloy) as fitted to the SPi. Tyres must be YOKOHAMA A539, 165.60.12 71H.
STEERING
No quick racks. 2.7 turns lock to lock.
WEIGHT
This is a minimum of 738kg including the driver otherwise ballast (lead or steel) has to be fitted in accordance with the MSA recommendations.
SUMMARY
There are certain modifications that are mandatory and others which are merely permitted.
Since we’re intending to build a car from a bare shell, we are looking to include everything that is allowable. If we were just modifying a rolling chassis then we would probably just modify the minimum that is required and upgrade when needed. We’re outlining our intentions here but if we find a donor car that is completely rust free then plans might change.